The thin-head, internal Torx K2, K2.5, K3, K4, and K5 plastic self-tapping screws are designed specifically for plastic products. They feature a thin head and an internal Torx socket. This is a detailed guide to their use. The content is organized and appropriately detailed, aiming to provide practical and comprehensive information.
The K series self-tapping screws are specifically designed for connecting plastic parts. Their unique geometry effectively forms threads in plastic, providing high pull-out resistance and anti-loosening properties. The thin head design allows the head to embed into the surface of the part after tightening, creating a smooth, aesthetically pleasing connection that avoids scratches.
Proper screw identification and selection are the first steps to a successful application.
Model Explanation: The "K" designation indicates the screw's thread profile. This is a special design with a large pitch and large angle for plastics, making it ideal for cutting plastics, offering strong cutting performance, and minimizing cracking.
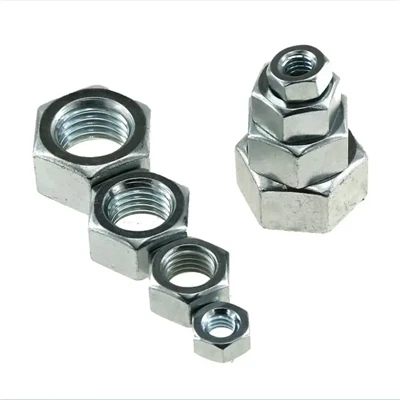
The number represents the nominal diameter of the screw. For example, a K2 has a diameter of approximately 2.0mm, a K2.5 has a diameter of approximately 2.5mm, and so on. The larger the number, the thicker the screw and the greater its load-bearing capacity.
Head Type: Compared to a pan head, a thin/flat head is shorter, resulting in a larger contact area with the workpiece, providing better clamping force and being less likely to damage brittle plastics.

How to Choose: Based on Plastic Material: For hard plastics (such as ABS, PC, and nylon), all K series screws are suitable. For soft or brittle plastics (such as PP and PS), it is recommended to select screws with a slightly smaller diameter (such as K2 or K2.5) and reduce the torque to prevent cracking or stress concentration.
Based on Required Strength: For connections subject to higher loads, choose screws with larger diameters (such as K4 or K5).
Based on Board Thickness: The screw length should ensure that the penetration depth is at least 2-3 times the screw diameter. For example, a K2 screw will provide sufficient penetration depth in a 2.5 mm-thick plastic board. However, if the board is only 1.5mm thick, extreme caution is required and may require a thinner screw or a nut.
II. Usage Steps and Operation Instructions
Core Principle: Pre-drilling is crucial for ensuring a successful connection and preventing plastic cracking.
Preparation
Tools: Appropriately sized Torx (hexagonal) bit (e.g., T10, T15, T20, etc., specifically matching the screw size), electric screwdriver or hand drill, and torque regulator (very important).
Confirming the Hole Diameter: This is the most critical step. You must drill an appropriate pilot hole for the K-series screw.

Recommended Hole Diameter: The pilot hole diameter should be approximately the nominal screw diameter × 0.8.
Operational Procedure
Drilling: Use an appropriate drill bit to drill a pilot hole at the desired location. The hole depth should be slightly greater than the intended screw insertion depth.
Cleaning: Blow or clean any plastic debris from the hole to prevent it from affecting screw insertion and final torque.
Aligning the Screw: Place the screw vertically into the hole. Using an electric screwdriver or screwdriver, begin threading the screw in at a low, vertical speed. Initially, ensure the screw is not tilted.
Torque Control: Use an electric driver with a torque adjustment function and set a low initial setting.
Feel Judgment: Stop immediately when you feel the screw is fully seated and the torque increases noticeably.
"Click" Judgment: Use a manual torque driver with a clutch. When the preset torque is reached, it will make a clicking sound and slip, preventing overtightening.
Inspection: After completion, check that the head is flat and that the plastic part is not cracked, whitened, or bulging.
III. Precautions and Common Problems
Avoid screwing directly without drilling: Unless the plastic is extremely soft and the connection strength is not high, this can easily lead to cracking of the plastic, stripping of the screw threads, or excessive stress on the joint, resulting in damage.

Avoid Overtightening: This is the most common mistake. Overtightening can cause the plastic's internal threads to pull out, resulting in loss of holding power and stripping of the screw threads. It can also cause the plastic part to crack or generate excessive internal stress, leading to breakage during subsequent use.
Bit Matching: Always use a Torx bit of the correct size and good quality. A worn or mis-sized bit can cause the screw's torx hole to become inaccessible, making it impossible to remove.
Removal: After removing a K-series screw, the threads in the original hole may become worn. Retightening may require drilling in a different location, using a larger screw size, or using a specialized plastic thread repair tool.
Overall, the following guidelines apply:
Choose the right model: Select the K value based on the material, strength, and thickness of the board.
Drill the right hole: Strictly drill the pilot hole to the recommended diameter.
Use the right tool: A matching bit and a torque-controlled electric screwdriver are crucial.
Control the force: Better to undercut than overdrill; stop as soon as you feel the screw is in place.
Following these guidelines, you can efficiently and reliably use K-series self-tapping screws to achieve high-quality connections in plastic parts. It's more than just a simple screw; it's an efficient, reliable, and precise connection solution for the modern plastics industry, particularly in consumer electronics and home appliances.