The following is a detailed user guide for 12.9-grade CNC turning tool bar accessories (shims and non-standard stud screws), covering both technical essentials and practical guidance.
I. Accessory Function Overview
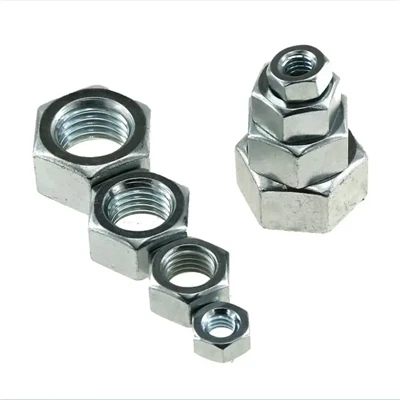
Shims: Support the insert, distribute cutting forces, prevent chipping, and adjust the insert height to match the tool bar centerline.
Material: Typically carbide or hardened steel, matching the insert hardness.
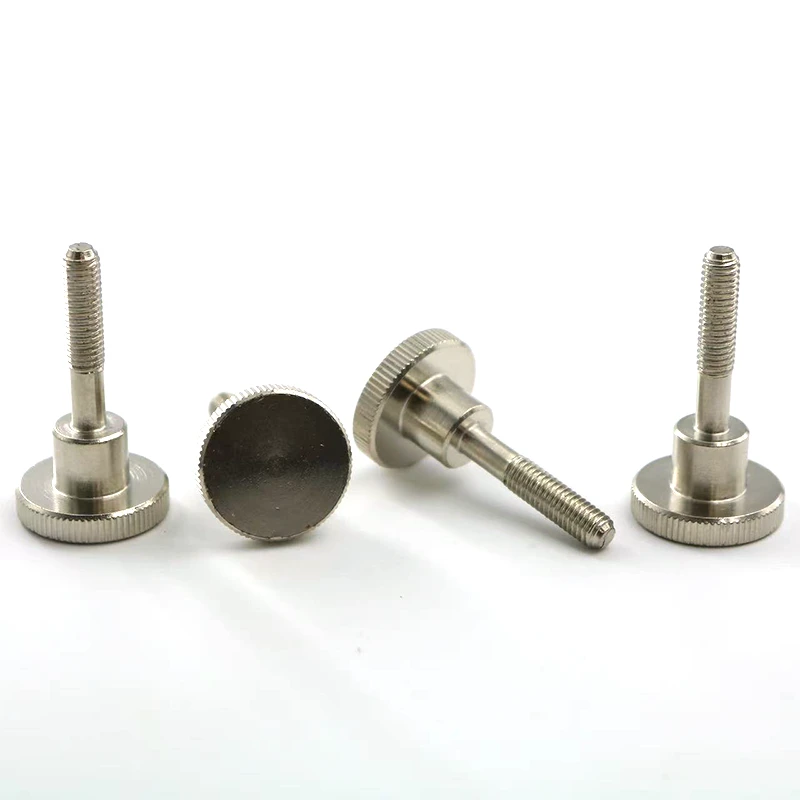
Non-standard stud screws (M5/M6/M8)
Features: 12.9-grade high-strength, double-thread design (possibly with different pitches/diameters on each end), suitable for special clamping scenarios.
Purpose: Fastens the insert to the tool bar, accommodating non-standard tool grooves or special shim configurations.
II. Usage Instructions and Precautions
1. Pre-Installation Preparation
Cleaning and Inspection
Clean the tool bar threaded hole, shim contact surface, and screw with alcohol to remove oil and debris.
Inspect the thread integrity (especially for non-standard screws, verify that they match the tool bar hole.
Verify Accessory Matching: Confirm that the shim thickness matches the insert model (refer to the tool manual).
Non-standard stud screws require two distinct ends: one end typically secures the toolholder, while the other holds the insert in place (marking or measuring the thread pitch).

2. Installation Procedure
Placing the Shim
Accurately insert the shim into the toolholder slot, ensuring there is no tilt (use a magnifying glass to inspect the fit).
Installing the Insert
The insert cutting edge must be oriented in the correct direction (e.g., for external turning tools, the cutting edge should face upward).
Tightening the Stud Screws
Steps:
a. First, manually tighten the screw into the toolholder thread hole (to avoid misalignment).
b. Use a torque wrench to tighten in two steps: pre-tighten to 50% of the rated torque, then fully tighten (e.g., the typical torque for an M8 screw is 25-30 N·m).

Key Points:
If the screw threads are different, the coarse end secures the toolholder, while the fine end holds the insert in place.
Do not use lubricants (this can affect the friction coefficient and cause overtightening or loosening).
3. Commissioning and Verification
Height Calibration: Use a tool setter to check the tool tip center height. If the deviation exceeds 0.02mm, replace the shim or adjust it.
Test Cutting: Run the machine at low speed and no load to observe whether the blade moves. After machining the first piece, check the surface finish.
III. Troubleshooting Common Problems
Screw Breakage:
Cause: Over-torqued or misaligned threads.
Solution: Replace the screw and use a torque wrench to check the toolholder threads for damage.

Insert Shift:
Cause: Uneven shim or insufficiently tightened screw.
Solution: Regrind the shim contact surface and tighten again to the standard torque.
IV. Maintenance Recommendations
Regular Inspection: Check the screws for looseness every 8 hours (marking is an aid).
Accessory Replacement Cycle:
Shim: Replace if indentation or wear exceeds 0.1mm.
Grade 12.9 screws: Discard after 5 reuses or if thread deformation is observed.
Standardized operation and meticulous attention to detail can significantly improve tool life and machining accuracy. It is recommended to keep a record of the accessory model for quick replacement.