Today, let's learn how to properly install screws to ensure safety and security.
1. Choose the Right Screw Type
Choosing the right screw type is the first step in installation. Different materials and applications require different types of screws:
Wood screws: Designed specifically for wood, they have coarse threads that provide a secure grip.
Self-tapping screws: Require no pre-drilling and are suitable for materials like metal and plastic, allowing them to penetrate directly into the surface.
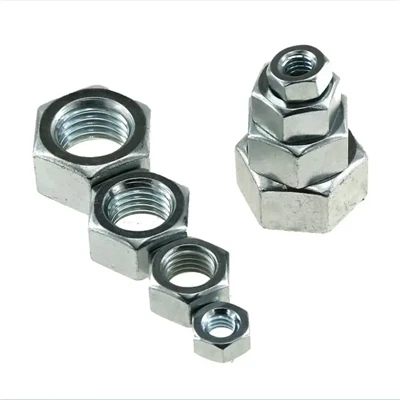
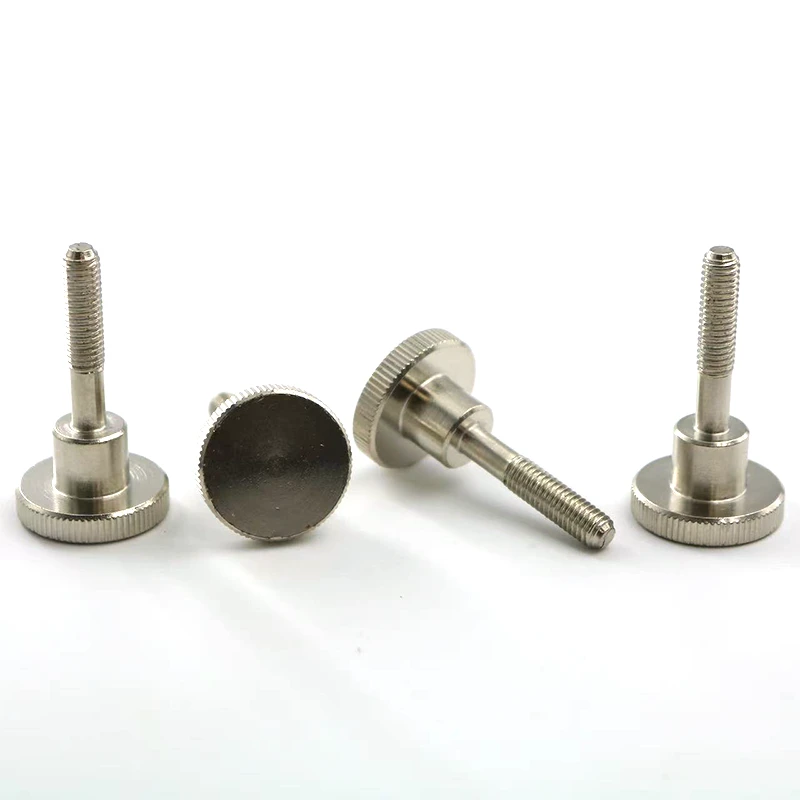
Machine screws: Typically used with a nut, they are widely used in metalworking and mechanical manufacturing.
 |
 |
 |
 |
2. Use the Right Tools
When installing screws, using the right tools significantly improves efficiency and accuracy. Common tools include:
Screwdrivers: Suitable for manually turning screws. Choose a screwdriver that matches the screw head to prevent slippage.
Electric screwdrivers: Speed up work and are suitable for installing large quantities of screws.
Electric drills: Used for drilling holes, especially in hard materials like metal. Pre-drilling helps the screws penetrate more smoothly.
Choosing a Screwdriver:
Choose the right head type for the screw. Common types include Phillips and flat-blade screwdrivers, and different screw heads require different screwdrivers.
3. Ensure Proper Positioning and Preparing
If you need to install screws in walls, wood, or metal, you first need to drill a hole:
Choose the Right Drill Bit: Select a drill bit of the appropriate size based on the screw diameter.
Drilling Depth: Ensure the hole is deep enough for the screw to fully seat.
For wood, you can use a smaller drill bit to make a pilot hole first to facilitate smoother screw insertion.
4. Properly Installing the Screws
When installing a screw, it is crucial to maintain the correct force and angle:
Direction of Turn: When installing a screw, turn it clockwise. When removing a screw, turn it counterclockwise.
Maintaining Verticality: Ensure the screw is perpendicular to the work surface to avoid tilting during installation, which can lead to a loose fit.
Control of Force:
When using power tools, avoid overtightening. Overtightening can damage the screw or the material. Tighten by feeling for the appropriate amount of force to ensure the screw is fully seated without damaging it.
5. Preventing Screw Loosening
Sometimes, screws may become loose after installation. The following methods can effectively prevent this:
Use screw locker: For critical components, apply screw locker to the threads to enhance the secure fit.
Regular Inspection: Regularly check for loose screws, especially on frequently used equipment.
6. Common Screw Installation Mistakes and How to Avoid Them
Overtightening: Applying excessive force during installation can break the screw or damage the threads.
Choosing the Wrong Screw Type: Different materials require different screw types, and choosing an inappropriate screw can result in a poor fit.
Not Pre-drilling: When installing screws in hard materials, failing to pre-drill holes can prevent the screws from properly seated and may even damage the material.